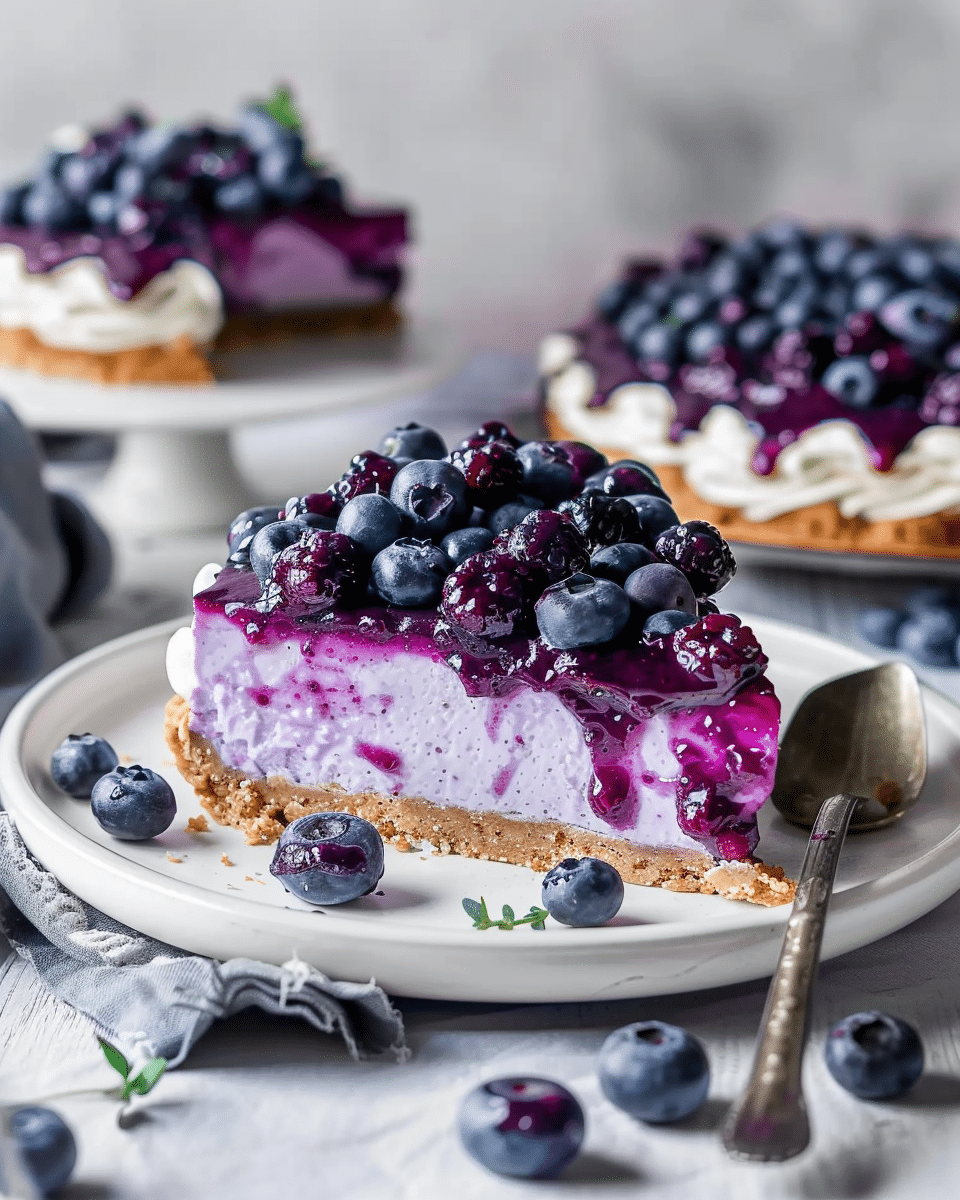
A creamy, chilled cheesecake crowned with sweet-tart blueberry sauce—no oven required. It’s the perfect make‑ahead dessert for warm weather or when I want something impressive without the heat or fuss.
Why You’ll Love This Recipe
I love that there’s no baking involved—just mix, chill, and serve. The cool, creamy filling is ideal for hot days, and it’s easy to prepare ahead of time. Plus, the flavor contrast between the rich cheesecake and bright blueberry topping is absolutely delicious.
ingredients
(Here’s a tip: Check out the full list of ingredients and measurements in the recipe card below.)
Crust
• 1½ cups graham cracker crumbs (about 12 sheets)
• 6 Tablespoons unsalted butter, melted
• ¼ cup granulated sugar
Filling
• 1¼ cups (10 oz) block-style cream cheese
• 1 cup confectioners’ (powdered) sugar
• 1 cup heavy cream
• 1 tsp pure vanilla extract
• 1 tsp fresh lemon juice
• ¼ tsp salt
Topping
• 1 recipe homemade blueberry sauce or canned blueberry pie filling, chilled
directions
-
Make the crust by stirring together graham crumbs, melted butter, and sugar until the mixture resembles wet sand. Press into the bottom and up the sides of a springform pan. Chill for at least 15 minutes to set.
-
Prepare the filling by beating cream cheese, heavy cream, confectioners’ sugar, vanilla, lemon juice, and salt until smooth and thick.
-
Spread the creamy filling evenly over the chilled crust. Chill in the fridge at least 3–4 hours—or ideally overnight—to let the cheesecake firm up fully.
-
Just before serving, spread or dollop the cold blueberry sauce on top. Slice and enjoy.
Servings and timing
This cheesecake yields about 10 slices. Prep time is just 10 minutes, plus at least 4 hours chilling. I usually let mine firm up overnight for the best texture.
Variations
-
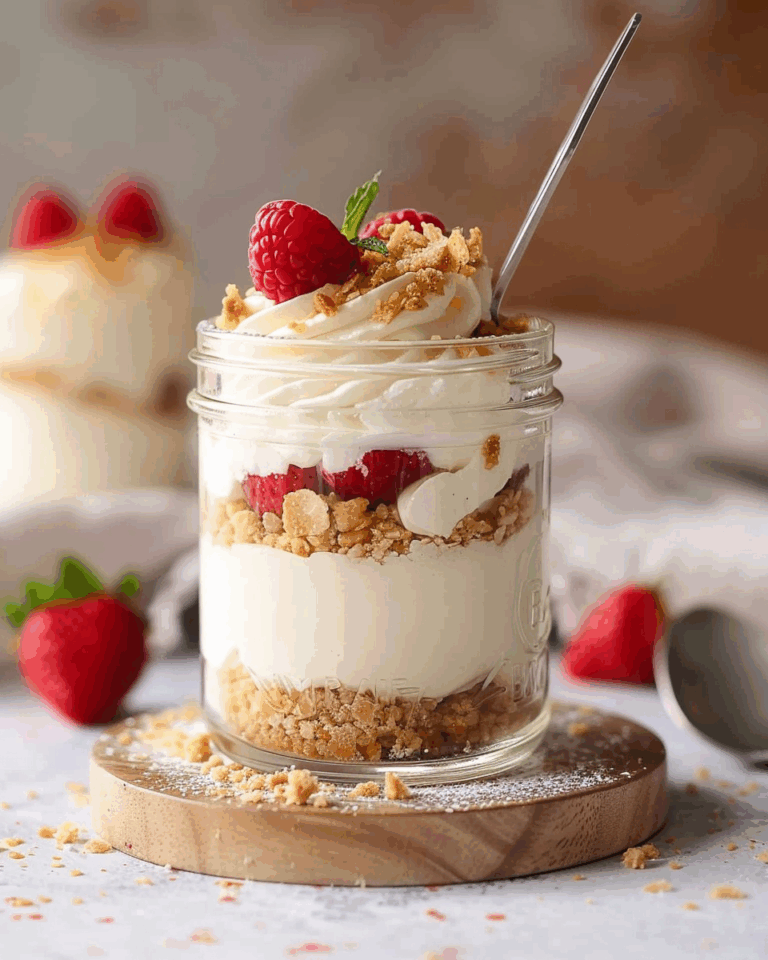
Mini cheesecakes: I like to divide the crust and filling among a 12‑cup muffin tin—2 Tbsp crust, about ¼ cup filling each. After chilling for 2 hours, I top them individually.
-
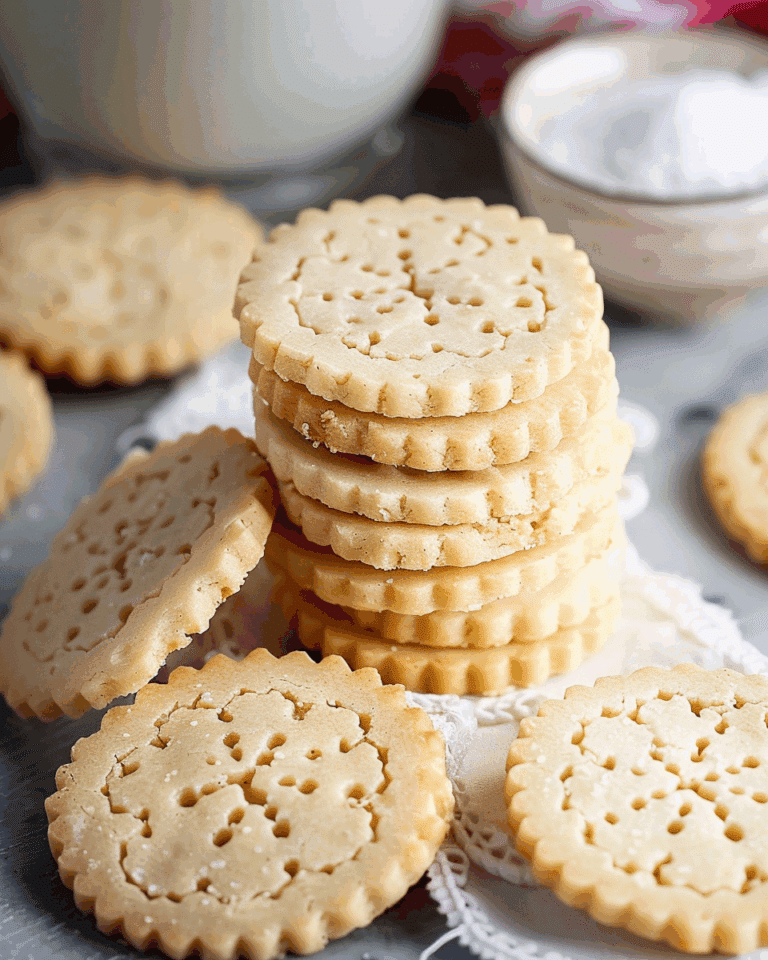
Alternative crusts: Sometimes I switch it up by using crushed vanilla wafers or shortbread instead of graham crackers.
storage/reheating
-
Fridge: I store the cheesecake covered for up to 5 days.
-
Freezer: I freeze it for up to 3 months. First, I flash‑freeze slices or the whole cheesecake for about 1 hour, then wrap it well in plastic and foil. I defrost overnight in the fridge and usually keep the blueberry sauce separate until serving.
FAQs
What if my cheesecake doesn’t set?
If it’s still wobbly, it probably needs more chilling time—or I may have used soft or low-fat cream cheese instead of full-fat block-style, which holds better.
Can I swirl blueberry sauce into the filling?
I can, but swirling the sauce throughout the filling may weaken its structure. I prefer dollops swirled lightly on top before chilling and save extra sauce for serving.
Can I use a regular cake pan instead of a springform?
Yes, a 9‑inch round pan works—but removing the first slice may be trickier without the removable sides.
How long should I chill before serving?
At least 4 hours, though overnight chilling gives the best texture and flavor. I also like to chill the crust first and always use block-style cream cheese.
Can I use canned blueberry filling instead of homemade sauce?
Absolutely—just make sure it’s well chilled before topping, or it might soften the cheesecake too much.
Conclusion
This no‑bake blueberry cheesecake is one of my favorite go‑to desserts: it’s easy, delicious, and keeps the kitchen cool. I love prepping it the night before a gathering—it’s my own little stress-free secret. I hope it becomes one of my favorite desserts for you, too!
Print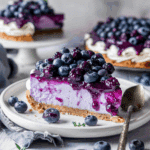
No‑Bake Blueberry Cheesecake
5 Stars 4 Stars 3 Stars 2 Stars 1 Star
No reviews
- Author: Chef Sara
- Total Time: 4 hours 10 minutes
- Yield: 10 slices
- Diet: Vegetarian
Description
$A creamy, no-bake blueberry cheesecake with a graham cracker crust, a smooth cream cheese filling, and a chilled blueberry topping. Perfect for warm weather or make-ahead occasions.
Ingredients
1½ cups graham cracker crumbs (about 12 sheets)
6 Tablespoons unsalted butter, melted
¼ cup granulated sugar
1¼ cups (10 oz) block-style cream cheese
1 cup confectioners’ (powdered) sugar
1 cup heavy cream
1 tsp pure vanilla extract
1 tsp fresh lemon juice
¼ tsp salt
1 recipe homemade blueberry sauce or canned blueberry pie filling, chilled
Instructions
- Stir together graham cracker crumbs, melted butter, and granulated sugar until the mixture resembles wet sand.
- Press the mixture into the bottom and up the sides of a springform pan. Chill for at least 15 minutes to set.
- In a mixing bowl, beat cream cheese, heavy cream, confectioners’ sugar, vanilla extract, lemon juice, and salt until smooth and thick.
- Spread the cream cheese filling evenly over the chilled crust.
- Chill the assembled cheesecake in the fridge for at least 3–4 hours, or ideally overnight, to firm up.
- Just before serving, spread or dollop the chilled blueberry sauce on top.
- Slice and enjoy.
Notes
- Chill the cheesecake overnight for the best texture.
- Use full-fat block-style cream cheese for optimal results.
- Alternative crusts like crushed vanilla wafers or shortbread can be used.
- Can be stored in the fridge for up to 5 days or frozen for up to 3 months.
- Chill the topping before adding to prevent softening the cheesecake.
- Prep Time: 10 minutes
- Cook Time: 0 minutes
- Category: Dessert
- Method: No-Bake
- Cuisine: American
Nutrition
- Serving Size: 1 slice
- Calories: 350
- Sugar: 22g
- Sodium: 200mg
- Fat: 24g
- Saturated Fat: 14g
- Unsaturated Fat: 8g
- Trans Fat: 0g
- Carbohydrates: 30g
- Fiber: 1g
- Protein: 4g
- Cholesterol: 65mg

