If you love indulging in rich, creamy desserts with a touch of elegance, there’s nothing quite like the Classic Tiramisu Recipe to satisfy your sweet cravings. This luscious Italian treat layers delicate espresso-soaked ladyfingers with a dreamy mascarpone cream that melts in your mouth, topped with a fragrant dusting of cocoa powder. Whether you’re making it for a special occasion or simply because you deserve a divine dessert, this Classic Tiramisu Recipe promises a perfect balance of flavors and textures that will captivate anyone lucky enough to take a bite.
Ingredients You’ll Need
This recipe calls for simple, essential ingredients that each play a crucial role in building that signature tiramisu flavor and texture. From the rich mascarpone to the perfectly brewed espresso and fluffy ladyfingers, every element counts for that irresistible harmony.
- Egg yolks: Provide richness and help create the creamy custard base that defines tiramisu.
- Sugar: Adds sweetness to balance the coffee’s bold bitterness.
- Mascarpone cheese: Gives the dessert its silky, luxurious texture and tangy flavor.
- Espresso or strong coffee: Infuses the ladyfingers with deep coffee flavor essential to tiramisu.
- Ladyfinger cookies (Savoiardi): Light, airy biscuits that soak up the coffee without falling apart.
- Cocoa powder: A dusting on top for a slightly bitter contrast and beautiful finish.
- Dark rum or coffee liqueur (optional): Adds warmth and complexity to the coffee soak.
- Heavy cream (optional, depending on recipe): Whipped to lighten the mascarpone mixture for an extra fluffy experience.
How to Make Classic Tiramisu Recipe
Step 1: Prepare the Mascarpone Cream
First, whisk the egg yolks and sugar together over gentle heat until the mixture thickens and becomes pale yellow. This homemade custard base is what gives tiramisu its luscious creaminess. Once done, let it cool slightly before folding in the mascarpone cheese until smooth and velvety.
Step 2: Brew and Cool the Espresso
Strong, freshly brewed espresso is the heart of the dish, so take your time to prepare it right. Mix in a splash of dark rum or coffee liqueur if you like, then set it aside to cool completely before dipping your ladyfingers.
Step 3: Dip the Ladyfingers
Quickly dip each ladyfinger into the cooled espresso mixture—just a moment to soak without soaking through. This step ensures the perfect balance between moisture and structure, allowing each bite to be tender without sogginess.
Step 4: Assemble the Layers
Start with a layer of soaked ladyfingers in your dish. Spread half of the mascarpone cream over them evenly, then repeat with another soaked ladyfinger layer and the remaining mascarpone cream. This layering creates that beautiful contrast of textures and flavors as they meld together.
Step 5: Chill and Set
Refrigerate your tiramisu for at least 4 hours, or ideally overnight. This resting time lets the flavors fully develop and the dessert to set perfectly, making every forkful a heavenly experience.
How to Serve Classic Tiramisu Recipe
Garnishes
A generous dusting of unsweetened cocoa powder is the finishing touch that gives tiramisu its iconic look and a subtle bittersweet note. For a special twist, you can add chocolate shavings, a sprinkle of cinnamon, or even a few coffee beans on top for extra visual appeal.
Side Dishes
While tiramisu is often enjoyed as a standalone delight, pairing it with fresh berries or a light fruit salad can provide a refreshing contrast. A cup of espresso or a rich dessert wine also complements the flavors beautifully, enhancing the overall indulgence.
Creative Ways to Present
Try serving the Classic Tiramisu Recipe in individual glasses or mason jars for an elegant touch at your next gathering. Layering it this way not only looks stunning but makes portioning easy. You can also experiment with mini tiramisus using ladyfinger bites or even turn it into bite-sized tiramisu truffles for a fun twist.
Make Ahead and Storage
Storing Leftovers
Tiramisu keeps wonderfully in the refrigerator for up to 3 days when covered tightly with plastic wrap or stored in an airtight container. This period ensures the cream stays fresh and the ladyfingers maintain their perfect texture.
Freezing
If you want to save some for later, you can freeze tiramisu but keep in mind the texture may change slightly. Wrap individual portions securely and freeze for up to one month. Thaw overnight in the refrigerator before serving to enjoy near-original taste and consistency.
Reheating
Since tiramisu is meant to be enjoyed chilled, reheating is not recommended. The cool, creamy texture and the coffee-soaked ladyfingers are best appreciated cold, so plan accordingly to savor it at its best.
FAQs
Can I make Classic Tiramisu Recipe without raw eggs?
Absolutely! You can replace the traditional egg custard with whipped cream or use pasteurized eggs to ensure safety. Some recipes also use a zabaglione made with cooked eggs for added richness without the raw component.
What can I substitute for mascarpone cheese?
If mascarpone is hard to find, a mixture of cream cheese and heavy cream can work as a substitute, though the flavor is slightly tangier and denser. For the authentic experience, mascarpone is highly recommended.
How long should I soak the ladyfingers?
Dip them briefly in the espresso mixture—just about 1 to 2 seconds—to prevent soggy cookies. The goal is to get them saturated but still firm enough to hold the layers together.
Can I make Classic Tiramisu Recipe ahead of time?
Yes! In fact, tiramisu tastes better after sitting overnight because the flavors marry. Preparing it a day in advance is perfect for hassle-free entertaining.
Is Classic Tiramisu Recipe gluten-free?
Traditional tiramisu uses ladyfingers made from wheat flour, so it is not gluten-free. However, you can find or bake gluten-free ladyfingers to adapt the recipe for gluten sensitivities without losing its charm.
Final Thoughts
I can’t recommend this Classic Tiramisu Recipe enough for anyone wanting to bring a touch of Italy to their table. Its creamy layers and bold coffee flavors create a dessert experience that’s both comforting and indulgent. Dive in, savor every bite, and share the magic with friends and family—you’re in for a real treat that will quickly become a beloved favorite.
Print
Classic Tiramisu Recipe
- Total Time: 4 hours 34 minutes
- Yield: 24 servings
- Diet: Vegan
Description
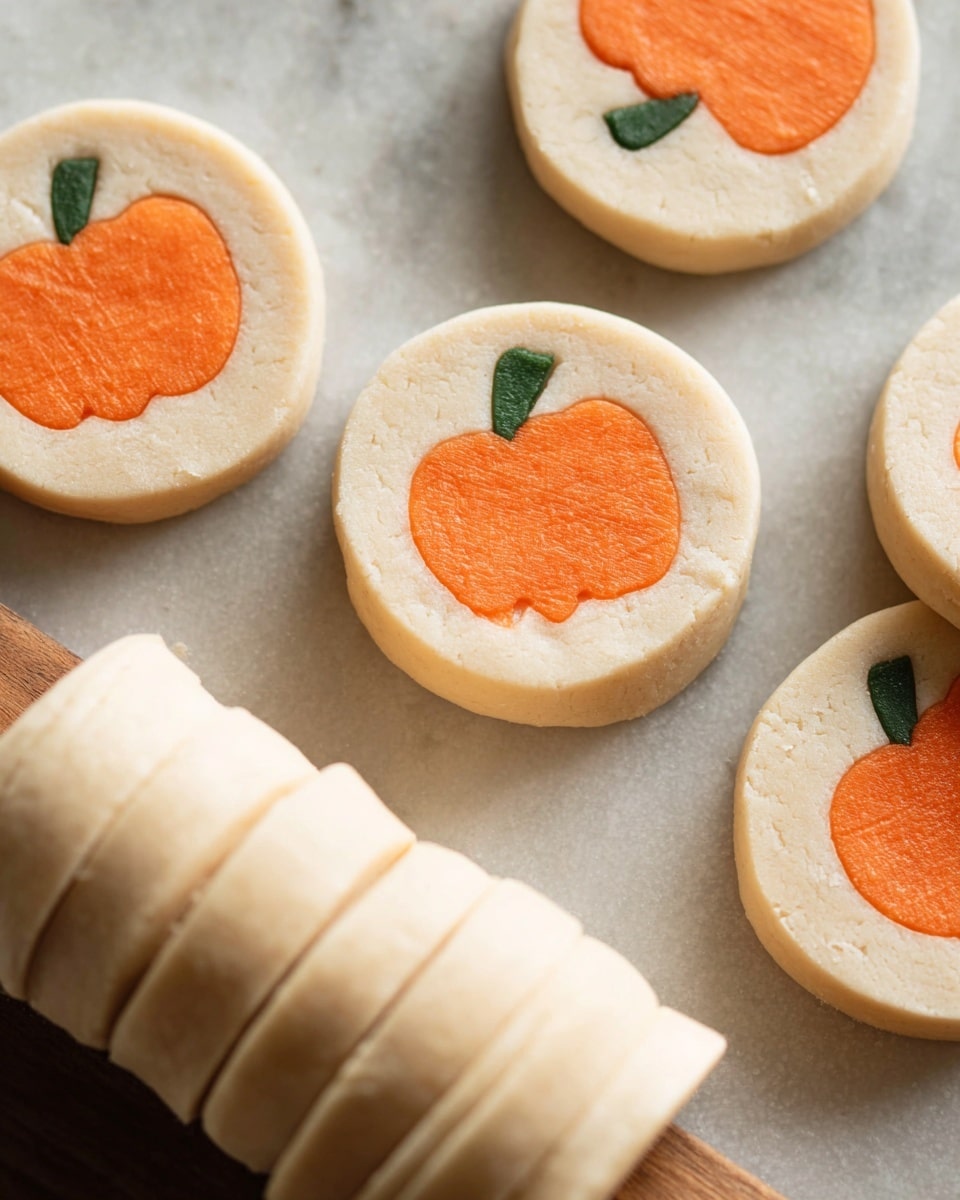
These Pillsbury Pumpkin Sugar Cookies are a vegan-friendly, colorful twist on classic sugar cookies with festive orange and green hues shaped like pumpkins. The dough is lovingly crafted and chilled for the perfect texture, then baked until just golden on the edges. These soft, flavorful cookies are designed for fall celebrations and are sure to delight with their whimsical design and tender crumb.
Ingredients
Cookie Dough
- 1 cup (226 g) vegan butter, room temperature
- 2 cups (240 g) organic powdered sugar
- 2 tsp vanilla extract
- 1 tsp baking powder
- 1/4 tsp sea salt
- 2 1/2 cups (313 g) all purpose flour*
- 1–2 tbsp dairy free milk
Food Coloring
- 1 pea-sized drop vegan red food coloring*
- 4–7 drops vegan yellow food coloring, divided*
- 1–2 drops vegan blue food coloring*
Equipment
- 1.5″ pumpkin cookie cutter*
- large bowl
- 2 small bowls
- Whisk or hand mixer
- Silicone spatula
- Plastic wrap or parchment paper
Instructions
- Prep: Measure all ingredients except the food coloring and read through the entire recipe before beginning to ensure a smooth cooking process.
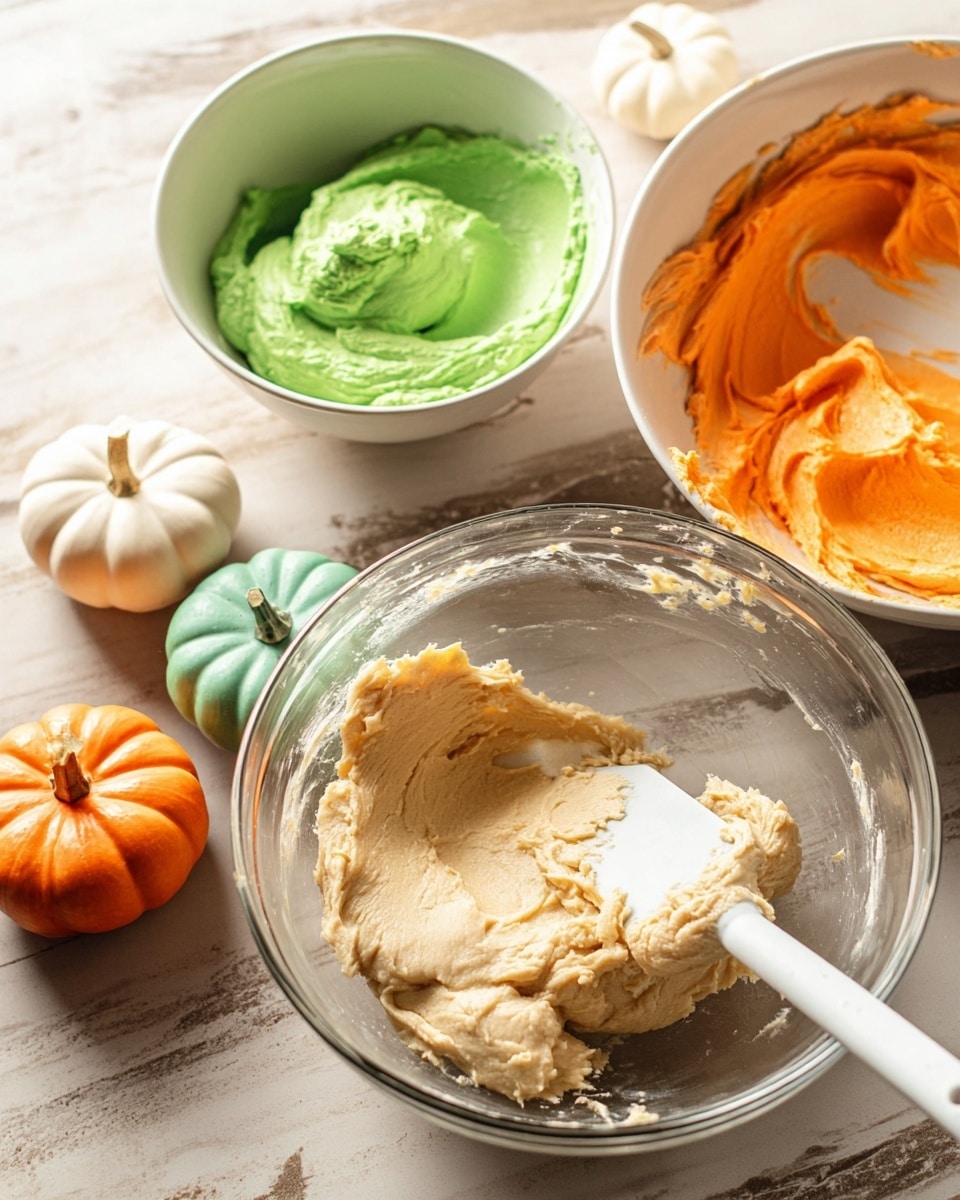
- Make the dough: Cream the vegan butter in a large bowl with a whisk or hand mixer until fluffy, about 1-2 minutes. Add powdered sugar, vanilla extract, baking powder, and sea salt, mixing well to resemble buttercream frosting. Incorporate flour and 1 tablespoon dairy free milk using a silicone spatula, adding the second tablespoon of milk only if necessary to bring the dough together.
- Divide and color dough: Split the dough in half, then one half into two quarters. Set aside one quarter for orange dough and half of the remaining quarter (an eighth) for green dough. Add vegan red and yellow food coloring for the orange dough and a combination of vegan blue and yellow food coloring for the green dough. Knead colors evenly into dough pieces using gloves or utensils.
- Chill the dough: Wrap the vanilla, orange, and green dough portions separately in plastic wrap and chill in the refrigerator for 2 hours.
- Form pumpkin logs: Remove dough from fridge. Shape the orange dough into a long flat log about 1/2″ wide and 1 1/4″ high, smoothing the top with a rolling pin. Shape the green dough into a similar sized but flatter log around 1/4-1/2″ high. Align the green log alongside the orange log to create a multi-colored dough log.
- Cut pumpkin shapes: Use a 1.5″ pumpkin cookie cutter to cut pumpkin shapes along the dough log, making sure the green portion aligns with the pumpkin stem. Stack cut cookies and use scraps to make additional logs to repeat cutting. Wrap the combined cookie bats log and freeze for 20 minutes.
- Roll out vanilla dough: While the pumpkins chill, roll out the vanilla dough between sheets of plastic wrap to approximately 12″ by 4-5″.
- Assemble pumpkin cookies: Place the chilled pumpkin cookie log onto the center of the rolled out vanilla dough. Fold and trim overlapping vanilla dough around the pumpkin log. Roll excess dough into two long logs and place them on either side of the pumpkin stems, pressing to maintain shape. Wrap tightly and chill for 30 minutes to 1 hour.
- Preheat oven: Preheat the oven to 375°F (190°C) and line two large baking sheets with parchment paper.
- Slice cookies: Remove the dough from the fridge and slice the dough log into 1/4″-1/3″ thick slices. Arrange them spaced about 2″ apart on baking sheets.
- Bake cookies: Bake for 12-14 minutes or until edges are slightly golden. Remove from oven and cool for 5-10 minutes before serving.
- Enjoy and store: Enjoy your festive pumpkin sugar cookies! Store leftover dough wrapped in plastic wrap in the refrigerator for up to 2 weeks.
Notes
- If you don’t have a pumpkin cookie cutter, you can shape cookies into small pumpkin-like rounds manually using the colored dough logs.
- The dough may be slightly firm when mixing in flour – be patient to fully incorporate.
- Food-safe gloves help to evenly mix food coloring into the dough without staining hands.
- Use plastic wrap layers to facilitate rolling and shaping the dough for an even surface.
- Scraps of dough can be recombined and reshaped to maximize cookie yield.
- Prep Time: 20 minutes
- Cook Time: 14 minutes
- Category: Dessert
- Method: Baking
- Cuisine: American


